The world is shifting toward electric vehicles (EVs) as a cleaner, greener alternative to traditional gasoline-powered cars. As more people embrace electric vehicles, the demand for EV chargers has grown significantly. Whether you’re a first-time EV owner or looking to upgrade your existing charging infrastructure, understanding the ins and outs of EV charger installation is crucial. In this blog post, we’ll explore the different types of EV chargers, the installation process, and tips for ensuring a smooth setup.
[caption id="" align="alignnone" width="2500"]
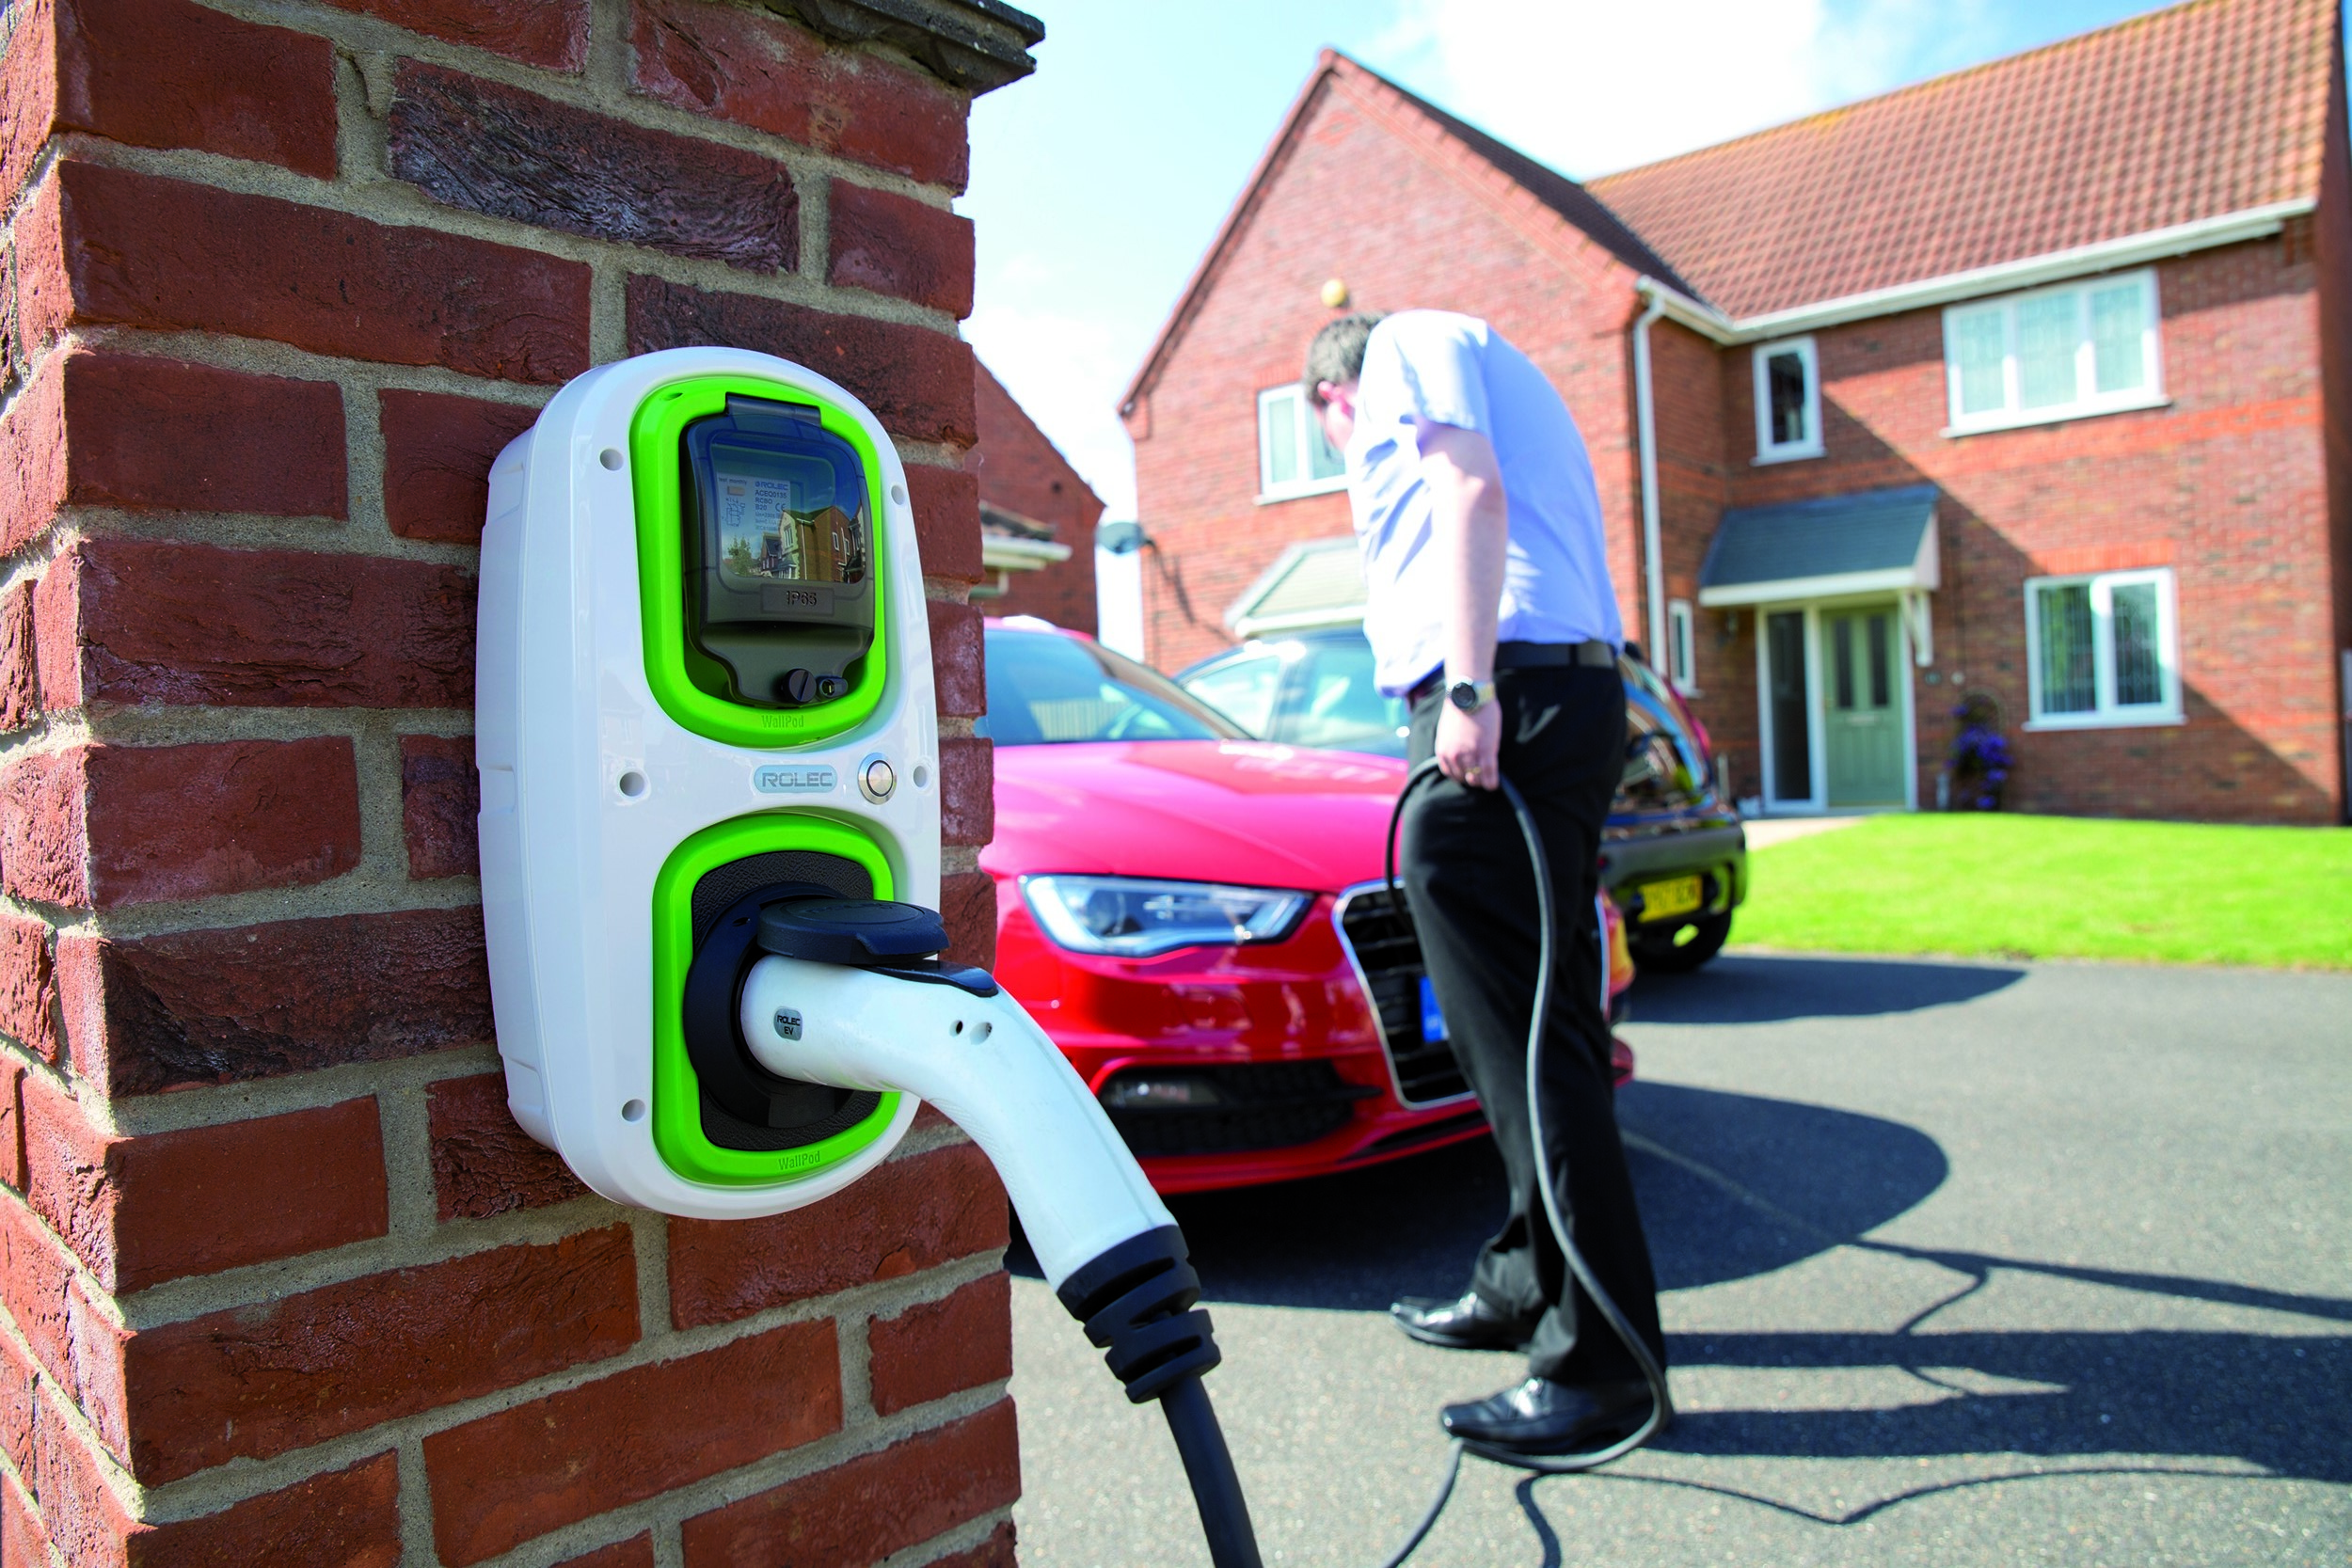 EV charge installation[/caption]
Why Install an EV Charger at Home?
One of the primary reasons for installing an EV charger at home is the convenience it provides. With a home charging station, you can charge your vehicle overnight, waking up to a fully charged car every morning. This eliminates the need to visit public charging stations or rely on others to top off your battery. Furthermore, installing an EV charger at home can increase the value of your property and make your home more appealing to potential buyers in the future.
Types of EV Chargers
There are three main types of EV chargers, each with varying levels of charging speed:
1. Level 1 Charger (120V)
A Level 1 charger is the slowest type, using a standard 120V electrical outlet. It’s the same outlet used for most household appliances. While this option doesn’t require any additional installation beyond a simple plug-in, it’s the least efficient, taking anywhere from 8 to 20 hours to fully charge an EV, depending on the battery size.
Pros:
- No installation needed.
- Ideal for low-mileage EV owners.
- Cost-effective.
Cons:
- Slow charging times.
- Best for people who don’t need to charge frequently.
2. Level 2 Charger (240V)
Level 2 chargers are the most common choice for home installations. They require a 240V outlet (like the one used for dryers or large appliances) and can fully charge most EVs in 4 to 8 hours. These chargers typically require professional installation because they need a dedicated circuit and may involve upgrades to your electrical panel.
Pros:
- Faster charging times.
- Ideal for daily use and long-range EVs.
Cons:
- Requires professional installation.
- Higher upfront costs than Level 1.
3. DC Fast Charger (Direct Current)
DC Fast Chargers (also known as Level 3 chargers) are typically found at public charging stations. They are incredibly fast, charging an EV to 80% in as little as 30 minutes. However, installing a DC Fast Charger at home is not practical due to high installation costs and the need for special equipment.
Pros:
- Extremely fast charging speeds.
- Best for commercial or high-traffic locations.
Cons:
- Not suitable for home use due to high cost and complexity.
The EV Charger Installation Process
Installing an EV charger at home may seem like a daunting task, but with proper planning, it can be a smooth process. Here’s a general step-by-step guide to what the installation entails:
1. Assess Your Electrical System
Before installing a Level 2 charger, it’s important to evaluate your home’s electrical capacity. Most homes have a 100-200 amp electrical panel, but older homes may need upgrades to handle the additional load. A licensed electrician will inspect your system to ensure it can handle the extra demand from the charger.
2. Choose the Right Location
The charger should be installed in a convenient location, ideally near where you park your EV. For garages, a wall-mounted charger is common, while for outdoor installations, you’ll need to ensure that the charger is weather-resistant and compliant with local building codes.
3. Professional Installation
Unlike Level 1 chargers, which can be plugged into an existing outlet, Level 2 chargers require a dedicated 240V circuit. A licensed electrician will install the proper outlet or hardwire the unit, ensuring it’s done safely and up to code. The electrician may also need to upgrade your electrical panel if it’s not large enough to handle the charger’s power demand.
4. Testing and Certification
Once the charger is installed, the electrician will test it to ensure it’s functioning correctly. They’ll also verify that all connections are secure and that the system meets all local codes and regulations. Depending on your location, the installation may require an inspection from a local government authority to ensure everything is up to standard.
5. Set Up Your Charging Schedule
Many modern EV chargers come with smart features, including the ability to schedule charges based on time-of-use rates or the level of charge you need. You can usually manage these settings through a smartphone app, providing you with more control over your charging habits.
Costs of EV Charger Installation
The cost of EV charger installation can vary widely depending on several factors, including the type of charger, your home’s electrical system, and labor costs in your area. On average, the total installation cost for a Level 2 charger ranges from $600 to $2,500, including equipment and installation fees. If your home requires significant electrical upgrades, the cost could be higher.
Here’s a breakdown of potential costs:
- Level 1 Charger: $0 (just the cost of the charger).
- Level 2 Charger: $500 to $1,500 for the unit, plus $300 to $1,000 for installation (depending on electrical upgrades).
- DC Fast Charger: $10,000 and up (rarely installed at home).
Some states and utilities offer rebates or tax credits to offset the installation costs, so it’s worth researching incentives in your area.
Tips for a Smooth EV Charger Installation
- Plan Ahead: Consider the layout of your home and the best location for your charger. Don’t forget about cable management to avoid tripping hazards.
- Hire a Qualified Electrician: Ensure that your installer is licensed and experienced in EV charger installations. Improper installation can lead to electrical hazards.
- Understand Your Charging Needs: If you have a long daily commute or own a large EV, you may want a faster charger. Level 2 is the most common choice, but it’s important to match your needs with the right charger.
- Check for Rebates and Incentives: Many states and electric utilities offer incentives for EV charger installation. Be sure to take advantage of these to reduce upfront costs.
- Consider Future Upgrades: If your home’s electrical panel is near capacity, you may want to plan for future upgrades. This can prevent the need for costly electrical panel upgrades later.
Conclusion
Installing an EV charger at home is a great step towards adopting an electric vehicle, providing convenience, cost savings, and contributing to a more sustainable future. While the installation process may require some upfront investment, the long-term benefits make it worthwhile for many EV owners. With the right preparation, professional help, and a bit of research, you can easily enjoy the convenience of charging your EV at home.